Steps to follow to enable the Property dashboard
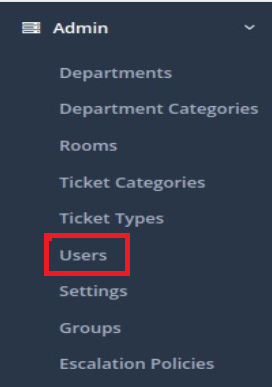
Step 1: Go to Admin-> Users
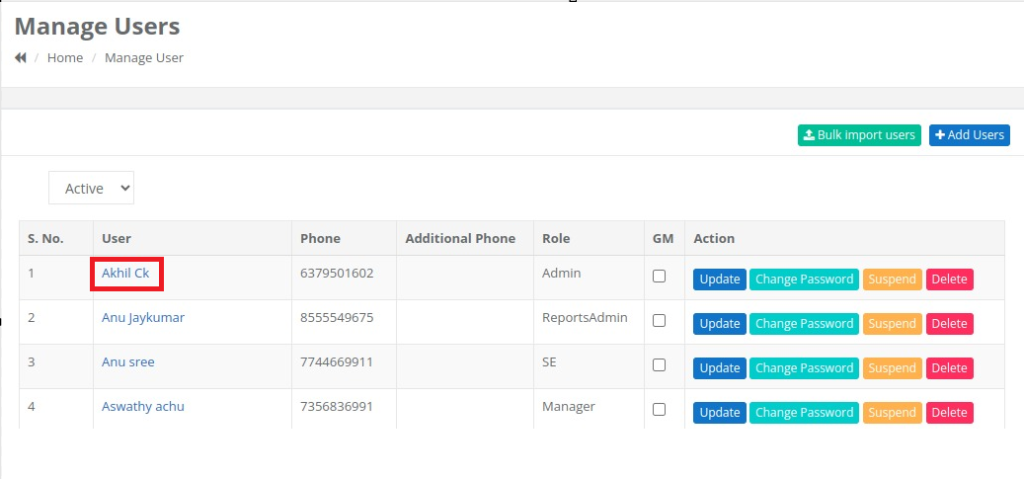
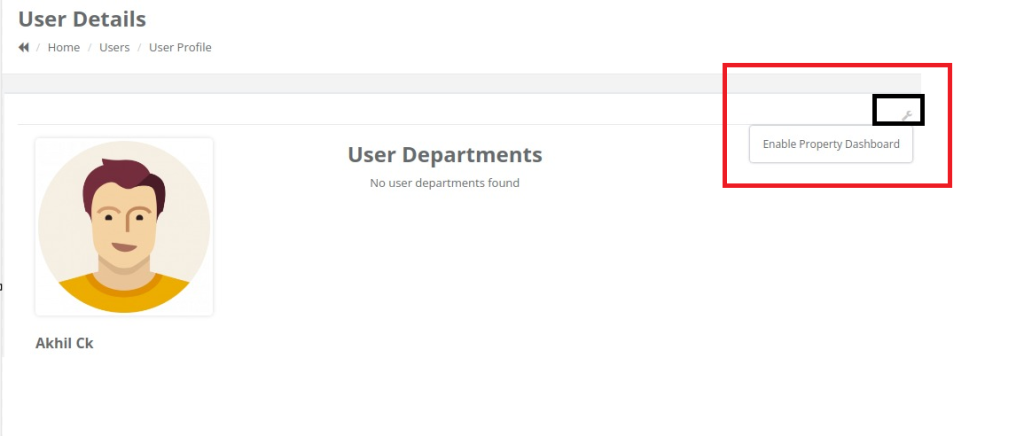
Step 2: To enable the property dashboard for a user, click on their username. Then, on the user detail page, locate the Wrench icon in the top-right corner and click on it. Finally, select ‘Enable Property Dashboard
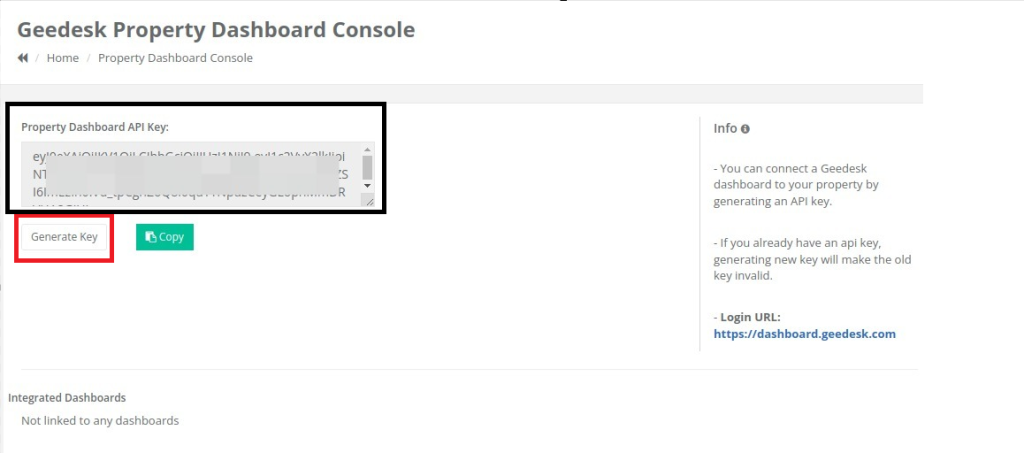
Step 3: Navigate to Admin -> Property Dashboard

Step 4: Now click Generate Key and a new key will be generated.
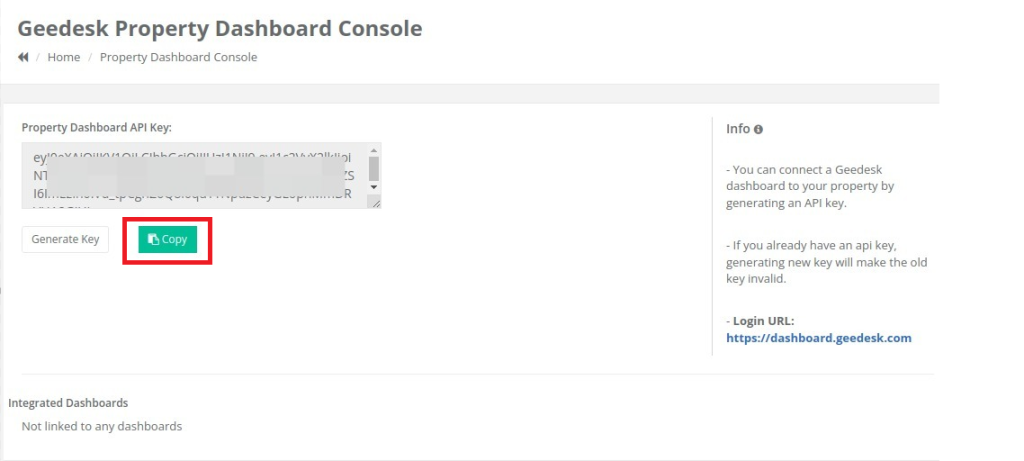
Step 5: Click Copy
Note: The Property dashboard key should be generated only once and should not be generated multiple times.
Once generated, the same key can be used to map the property to different users.
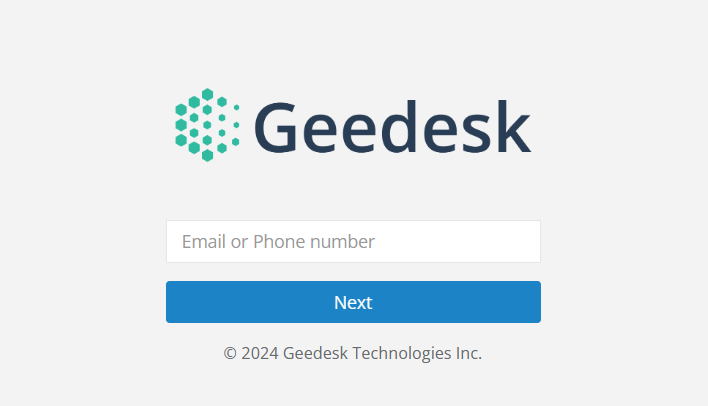
Step 6: Now, Open the link- https://dashboard.geedesk.com.
Step 7: Log in with your Geedesk username and password.
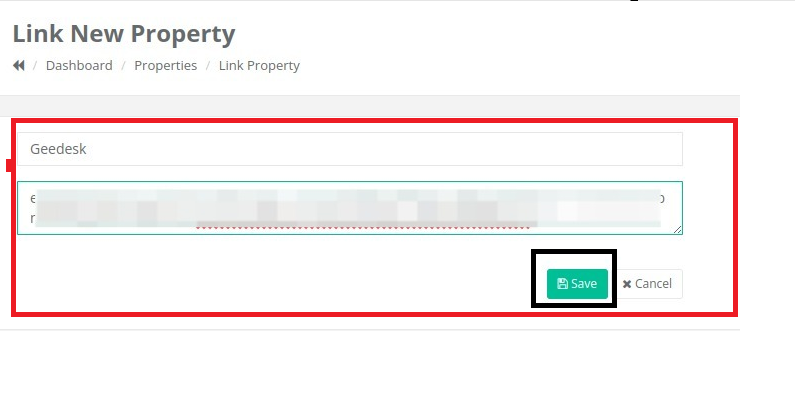
Step 8: Click on Link New Property.
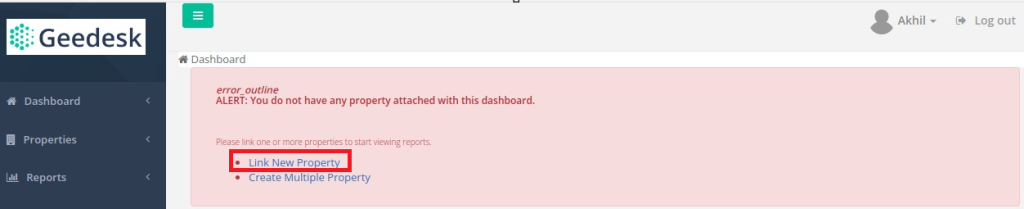
Step 9: Here paste the Property Dashboard API key that you have copied from your account.
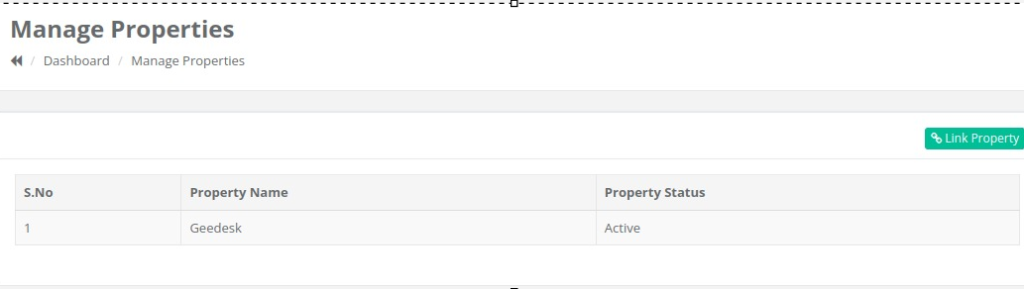
Step 10: Now, when you navigate to the dashboard, you will see the property we have added. You can similarly add multiple properties.
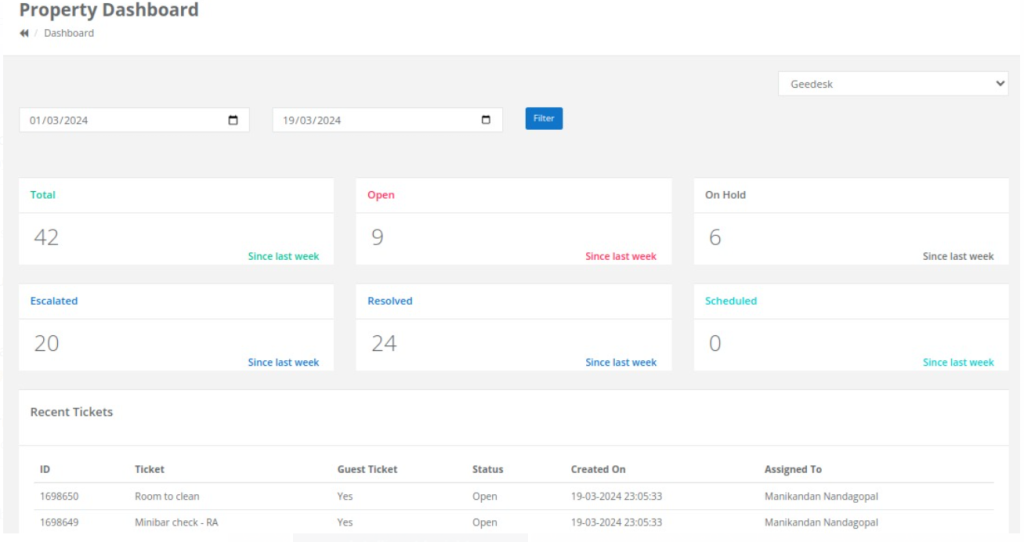
Step 11: When you click on the property name, the Property Dashboard will appear. Here, you can view the ticket details for that property within the specified time frame using the filters.

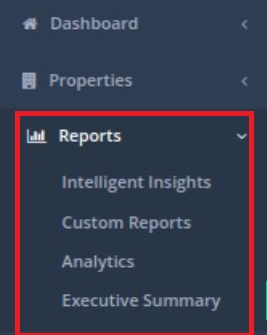
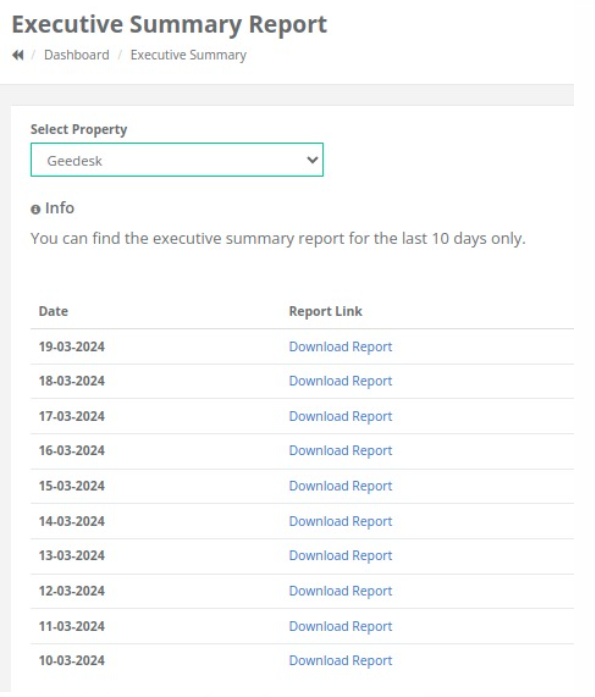
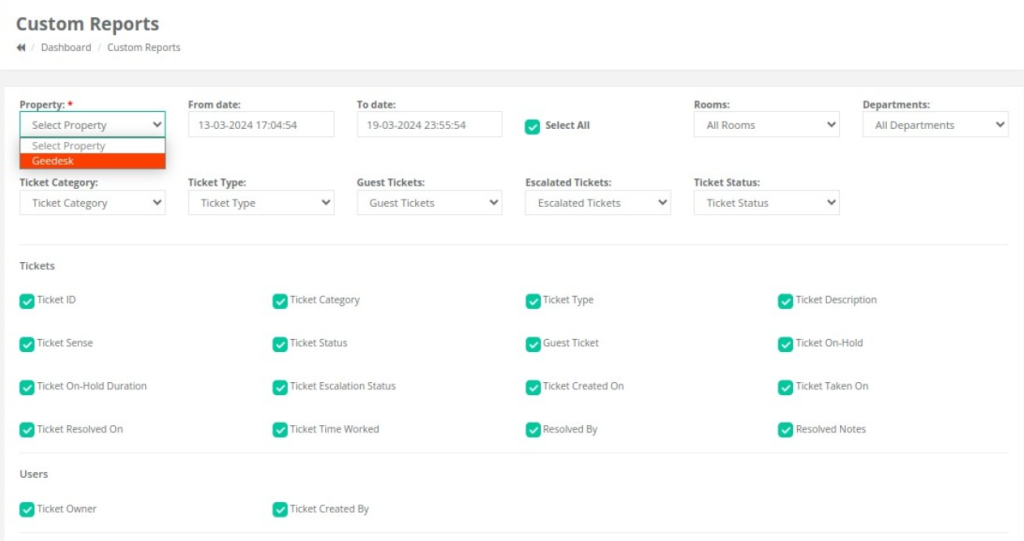
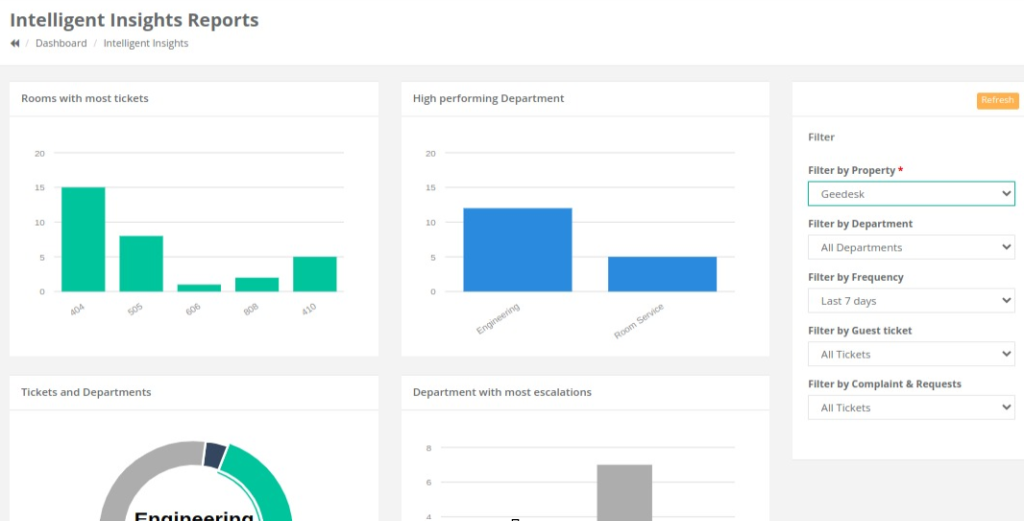
Step 12: Now under-report section you can see the below reports.

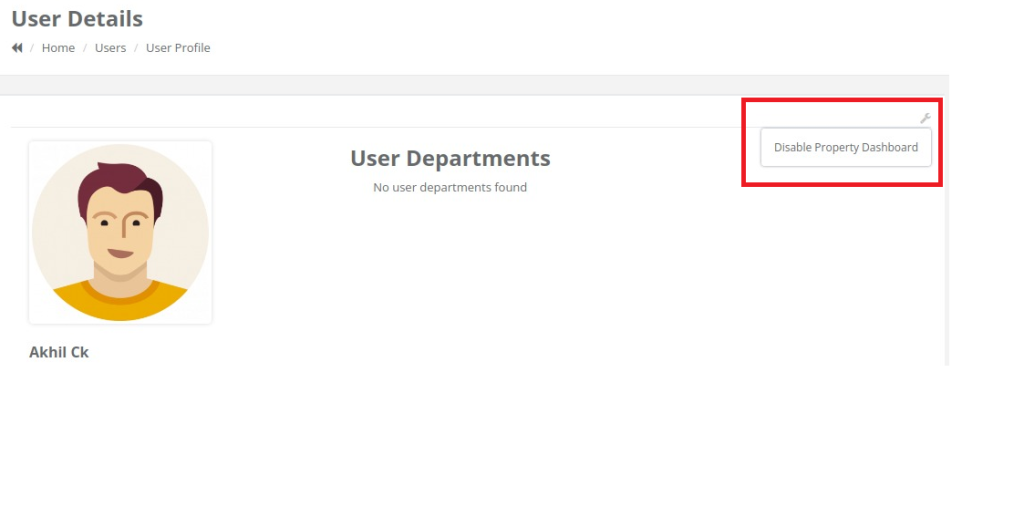
To disable the Property dashboard
Go to Admin-> Users in Geedesk Account-> Select the User-> Click the Wrench Icon and you will be able to see the option Disable Property Dashboard.